
Planning meetings can sometimes take more time than the meeting itself. Use the Scheduler to have your clients easily plan meetings with you!
There are 2 ways to connect your Office 365/Outlook calendar:
Once you're connected you can also send calendar events to Teamleader Focus. Read more about it at the end of the article.
1. The onboarding flow
To set up your booking pages you will have to follow a few steps, which can easily be done in our scheduling flow.
Go to Scheduling to get started and click on Connect your calendar.
If it's the first time that you will connect your calendar you will get an onboarding flow to go through all the steps at once.
1.1 Connect your Office 365/Outlook calendar
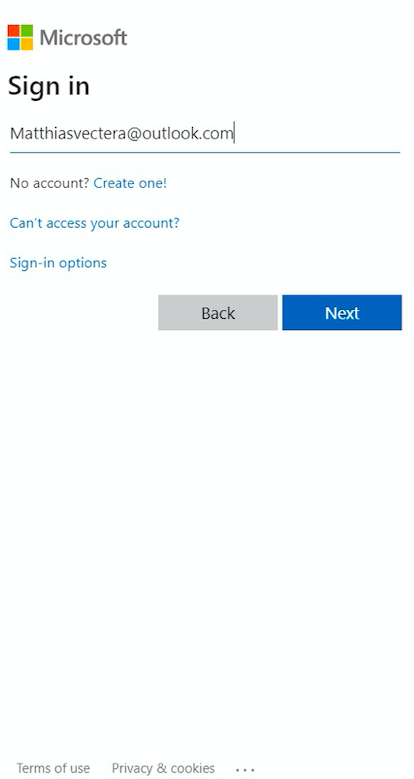
After clicking on connect the onboarding flow will open. In the first step select Office 365 - Outlook to log in with your Office 365/Outlook calendar account.

Now Select the account you want to connect with and log in:

Click on Next and continue the steps until you're logged in.
1.2 Set up the calendar settings
- Select the 'Calendars to check for availability' to avoid double bookings. You can check multiple calendars if necessary.
- Important note: Make sure that the events in your external calendar have the status 'Busy' instead of 'Free'. Only then will those time slots be blocked from your availability, and clients won't be able to book a meeting during your 'busy' time slots.
- Select the 'Calendar to write events in' to show in which calendar new meetings should be booked in.

1.3 Add meeting types
To have an easy start with creating meeting types, you can select 1 to 3 meeting types in this step which will be created automatically for you. You can edit or delete these meeting types at any point or create new ones.
1.4 Check your booking page or finish the setup
Click on Check your booking page to see what the meeting type(s) look like or click on Finish to finish the setup and edit/add meeting types.
2. Scheduling settings
1. Get started by visiting scheduling settings. In Calendar settings, connect your calendar.
2. Select Office 365 - Outlook as your calendar provider
3. Sign in with your account and enter your password
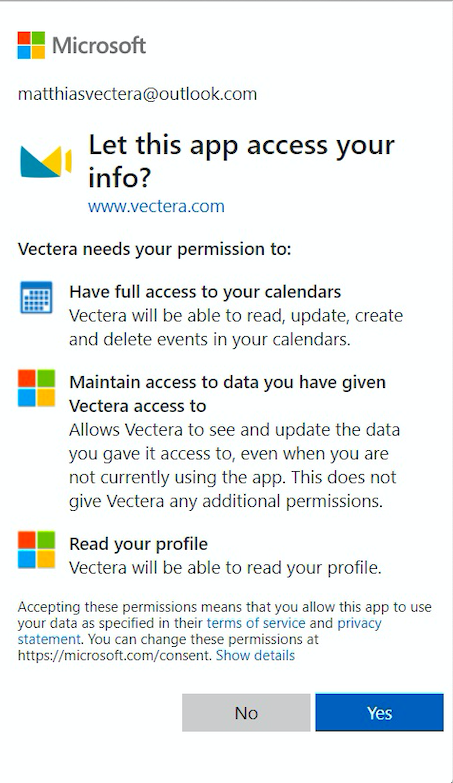
4. Allow our service to access your calendar
5. Configure your calendar settings. Select from which calendar the Lead capture Booster can check for your availability:
6. All set! Next step is to create meeting types. Find out more here.
Sync calendar events to Teamleader Focus
Now that you've connected your Office 365/Outlook Calendar to the Lead capture Booster, you might want to sync your calendar events to your Teamleader Focus calendar as well. In order to do this, you'll need to set up the integration between the Lead capture Booster and Teamleader Focus. Follow these steps:
- In the Lead capture Booster, go to Settings > Integrations > Teamleader.
- In these settings, check the box next to "Create a calendar event through Teamleader Focus":

- When enabled, a calendar event is created in Teamleader Focus and written through to the online calendar that is configured in Teamleader Focus. To make sure these events are still visible in your online calendars (Google, Microsoft, ...), you need to set up the calendar synchronisation in the Teamleader Focus marketplace.
How does it work?
- The calendars that are checked on availability are based on what you selected in the Lead capture Booster (cf. above) and are based on the availability in your Office 365/Outlook Calendar (not on your availability in Teamleader Focus).
- New events created through a booking in the Lead capture Booster will be visible in both your Office 365/Outlook Calendar and in the Teamleader Focus calendar.
- If a different calendar to write events to is selected in the Lead capture Booster versus in the Teamleader Focus Marketplace, then the events will be written to the calendar you've selected in the Marketplace.
- Guests will still receive a confirmation mail but will not receive a calendar invite anymore.